3-PIECE FENCE INSTALLATION INSTRUCTIONS
REQUIRED TOOLS

Installation of your 3-piece fence system is pretty simple and requires some basic tools. Below we have provided a list of everything that you'll need to install the fence frame itself. Please be aware that if you purchased our soft panel set with your fence, the soft panels have to be installed prior to the process described on this page, and you will require a 1/4" transfer punch to mark bolt holes on the deck. Below we have provide a list of everything that you'll need, as well as part numbers and links to where you can get the somewhat special tools from McMaster, which is an industrial supplier that we do business with almost every day here at Tiny Pontoon Boats. Click on the part number to be brought to where that item is available on the McMaster website. Most customers will already have what you need on hand.

3/8" drive ratchet
7/16", 3/8" drive socket
7/16" box wrench
1/4" transfer punch (optional) McMaster PN: 3374A23
Standard length 1/4" drill bit McMaster PN: 8870A27
Plastic or rubber mallet
Electric drill
Tape measure
4 C-clamps

STEP 1

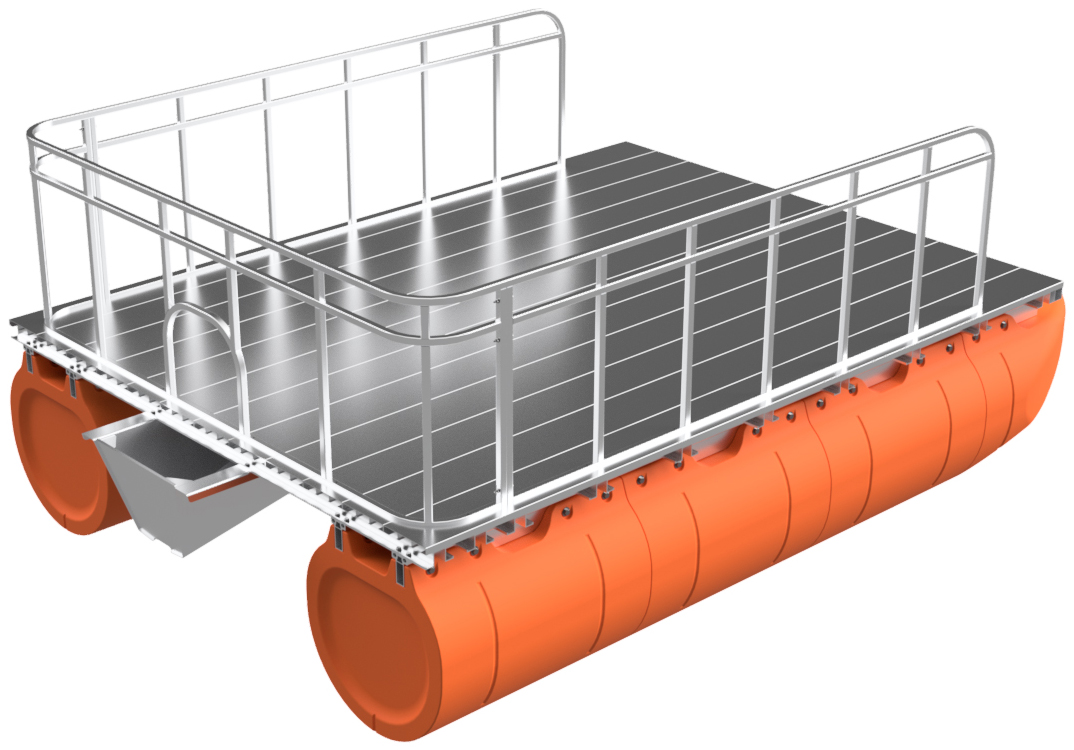
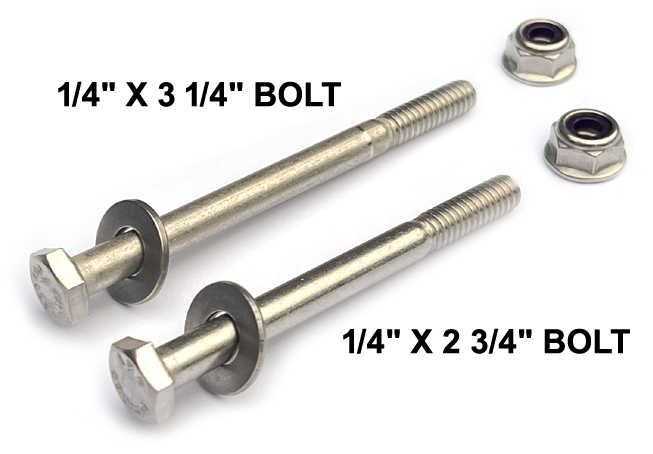
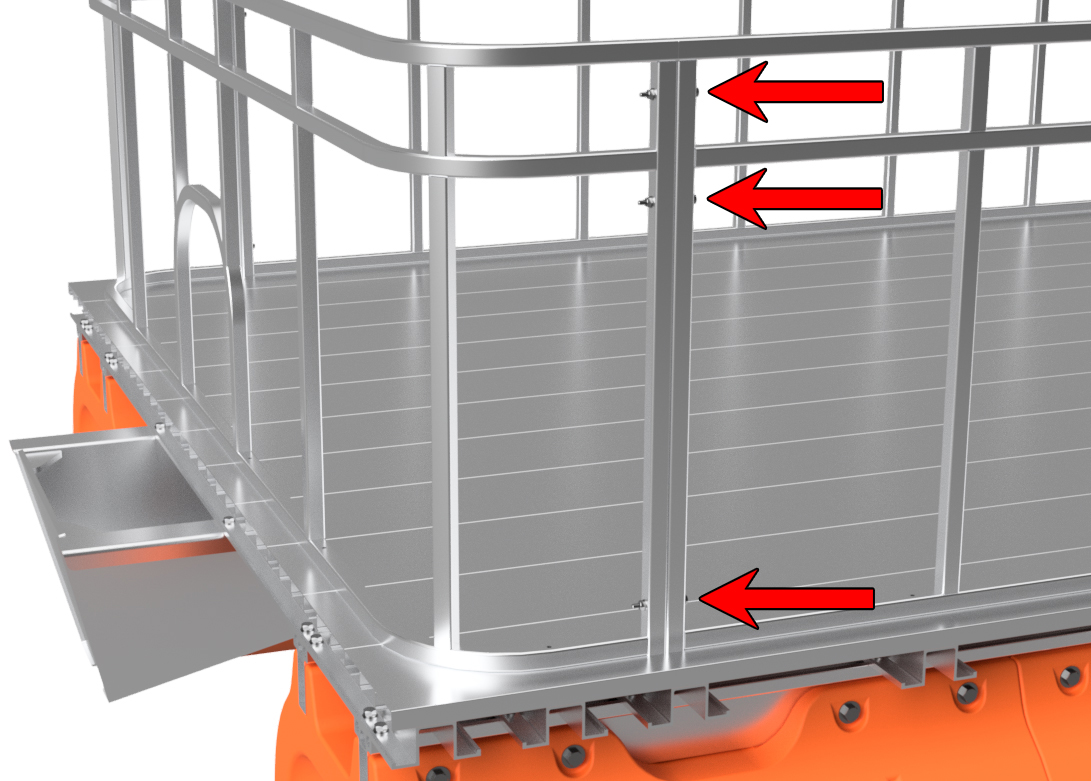
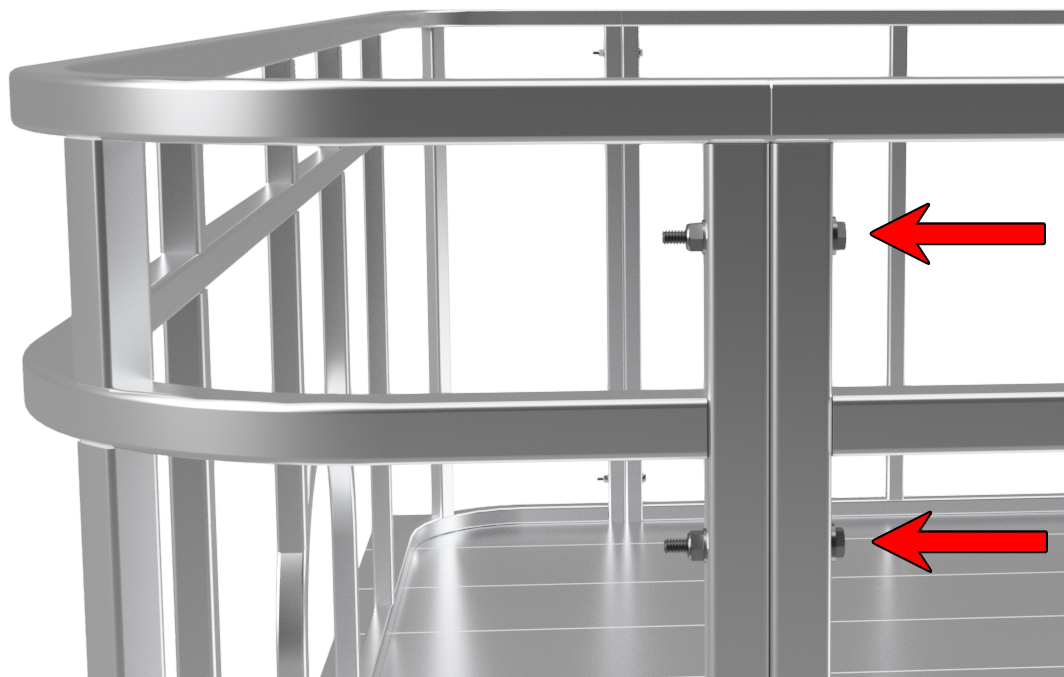
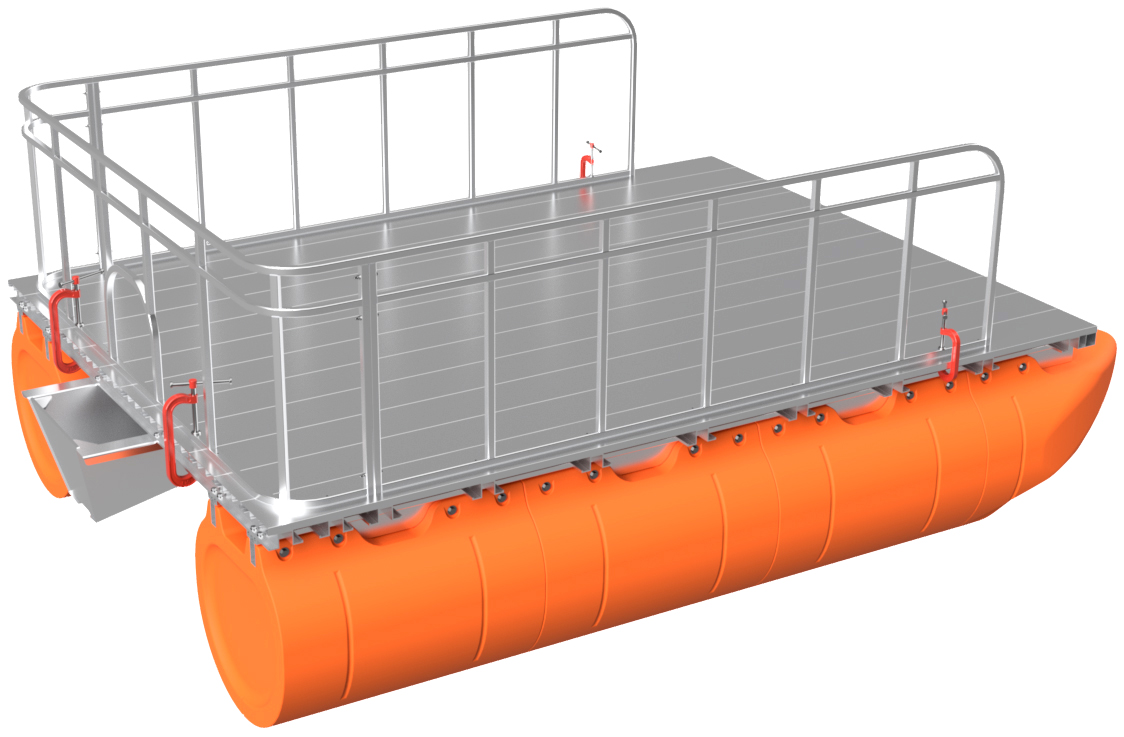
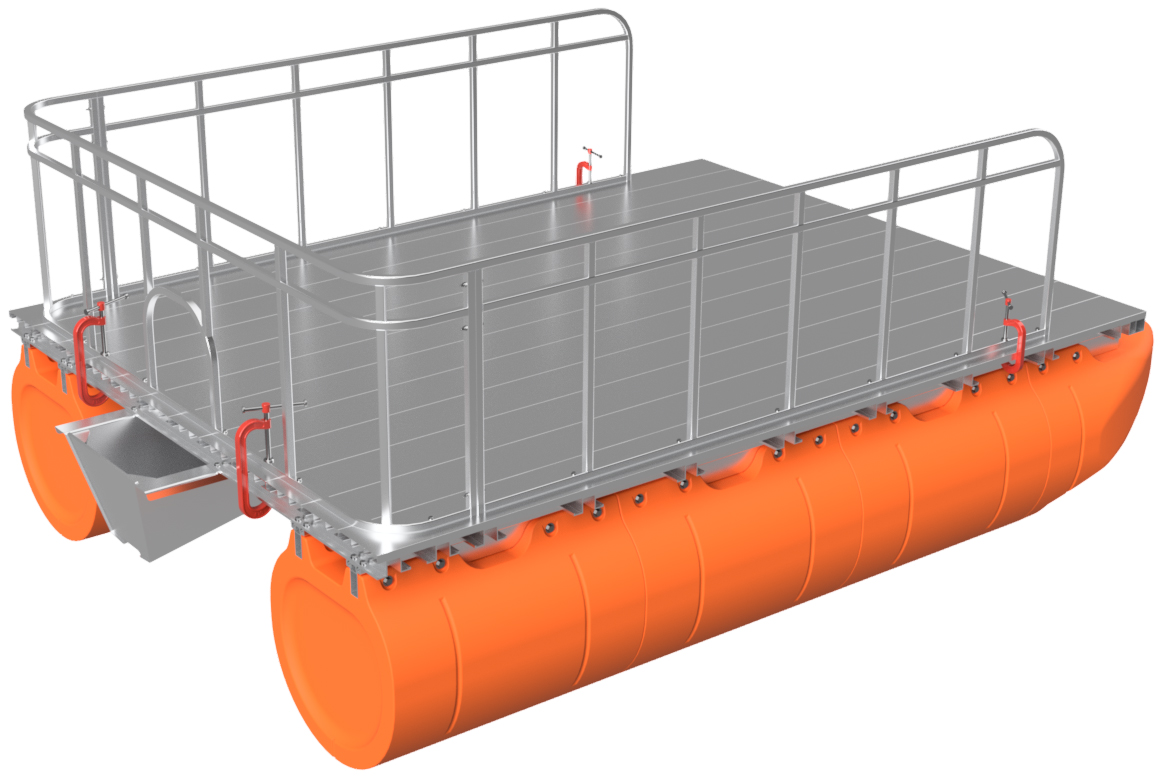
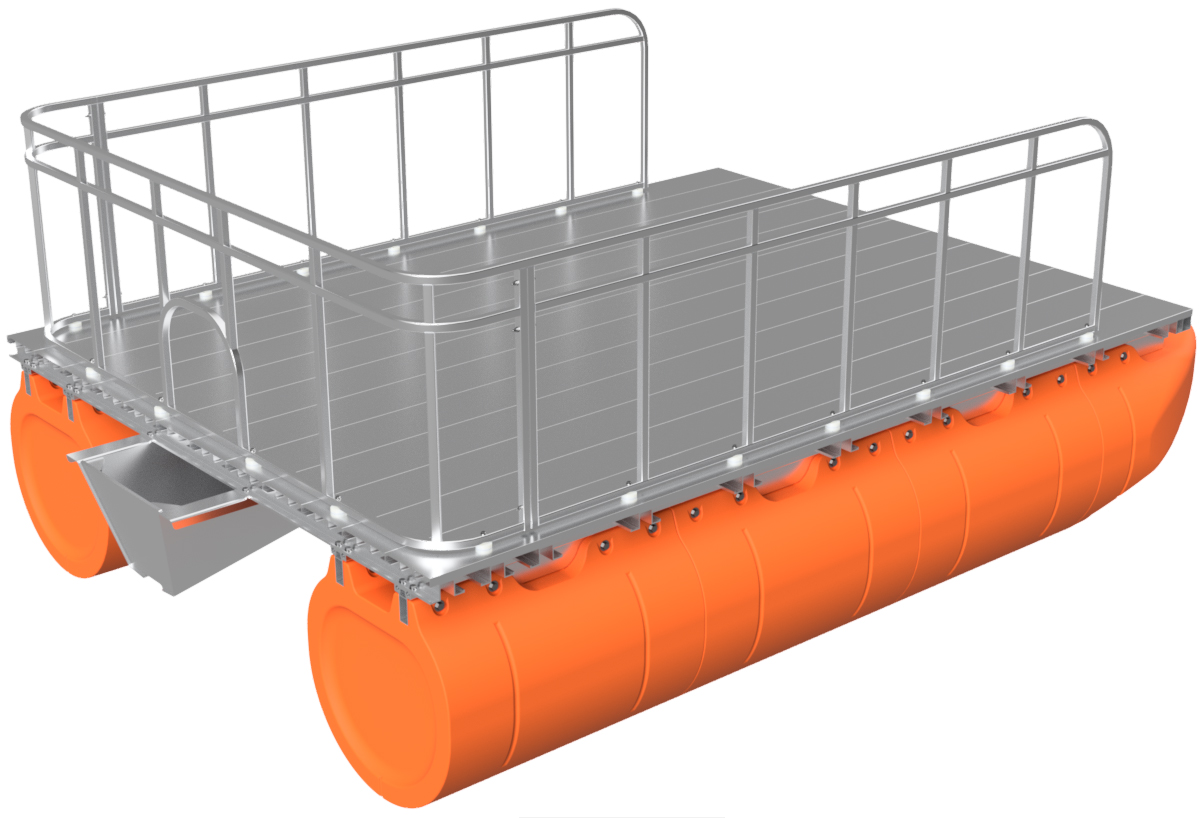
Place the three fence panels on your completed boat platform and bolt the three panels together as shown below. The end post of each side panel gets bolted to the curved rear panel with three 1/4" x 2 3/4" stainless hex bolts. Each bolt uses one flat washer (goes under head of bolt) and one flanged lock nut. Point the bolts toward the back of the boat. All the holes are slightly oversized, so be sure to align the square tubes of the fence pieces before tightening the bolts. Tighten all six bolts.


STEP 2

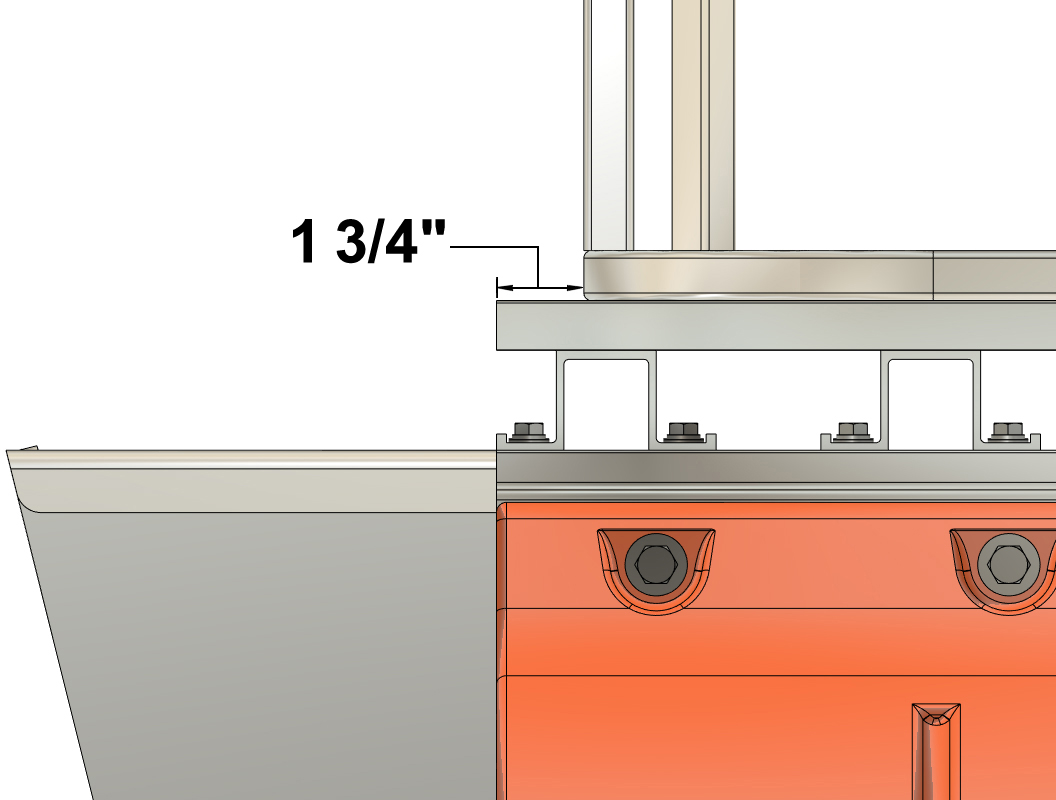
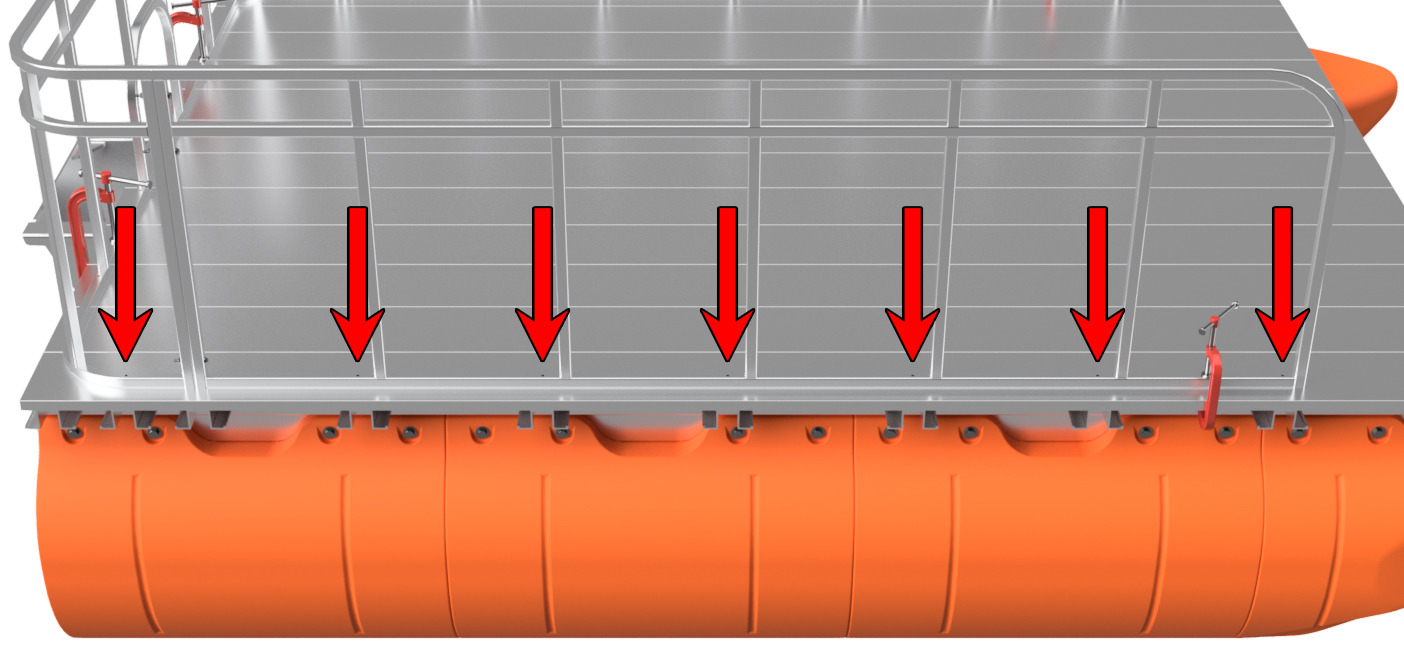
Position the fence assembly so that the rear fence panel is 1 3/4" from the end of the deck planks. Use a measuring tape to adjust the placement of the fece assembly left and right so that it is centered between the left and right side of the deck. We recommend using a couple clamps to hold the position of the rear fence panel, and then adjusting the placement of the front panels so that they are parallel with the outer edges of the deck. The natural position of the side panels may be ever so slightly bent outward before you make your adjustments. We also recommend using a couple clamps to ensure that the fence stays in position during the next step. Double check that all the bolt holes in the bottom tubes of the fence are aligned with the center of the crossmembers on your boat, as shown below.


STEP 3

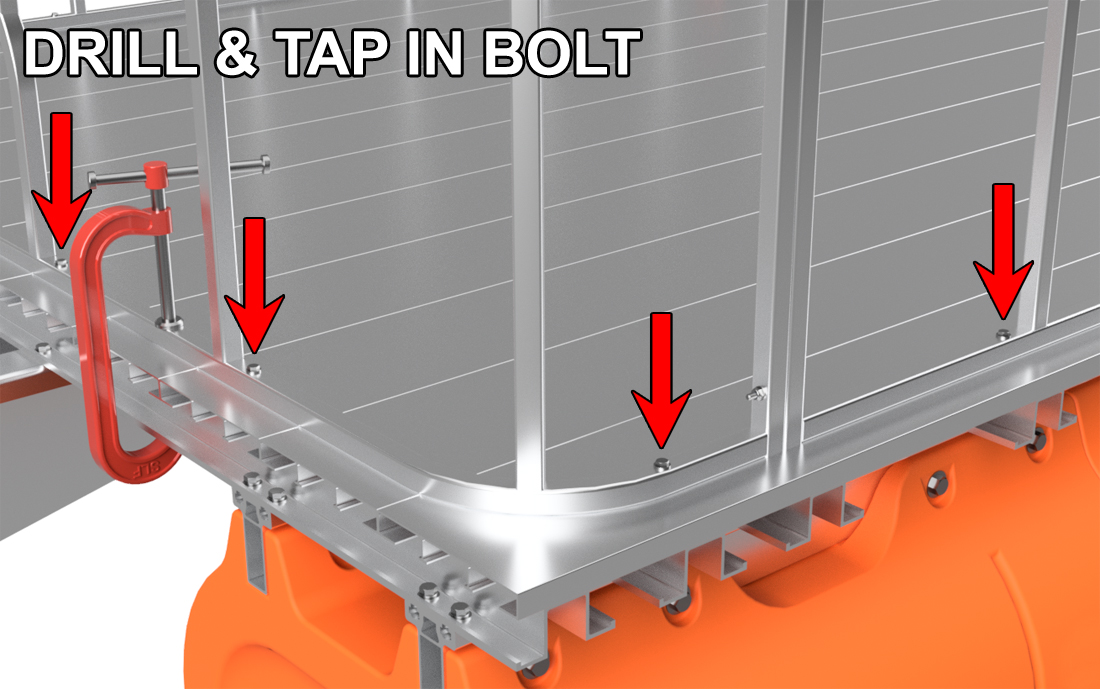
With the fence clamped into position, use a 1/4" drill bit to drill through the bolt holes in the base of the fence and drill all the way through the deck planks and through the top of the hat channels on the frame of your boat. We like to drill a single hole, slide one of the 1/4" x 3 1/4" bolts (fasteners remaining to bolt the fence down permanently in the next step) into the new hole, and then move onto the next hole to drill. We find that this helps hold the position of everything as the job progresses. If you purchased a fence system with soft panels, you may have to mark the front hole on each side panel with a 1/4" transfer punch to drill after this step. If you did not purchase our soft panel set, nothing will be in the way to drill all the holes straight through.

STEP 4

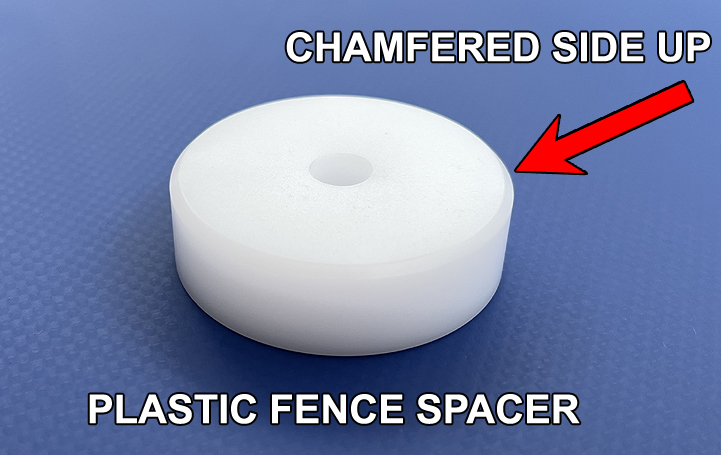
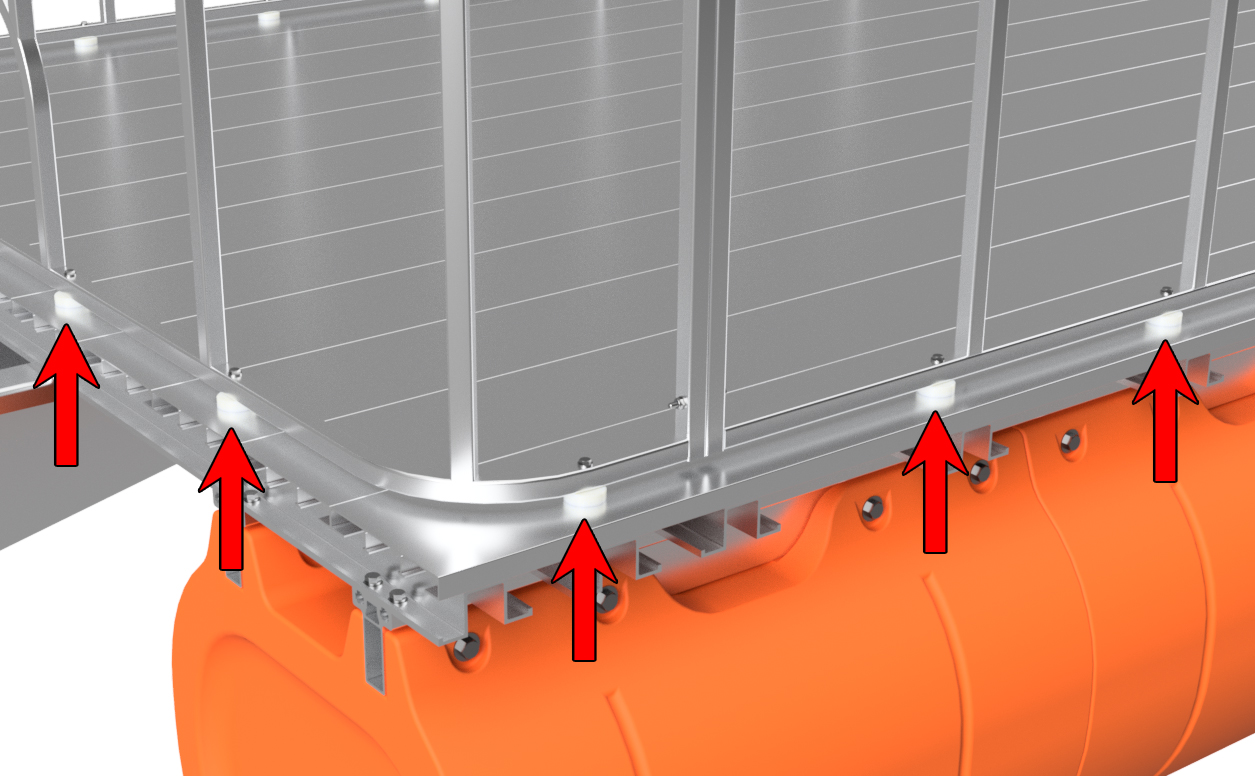
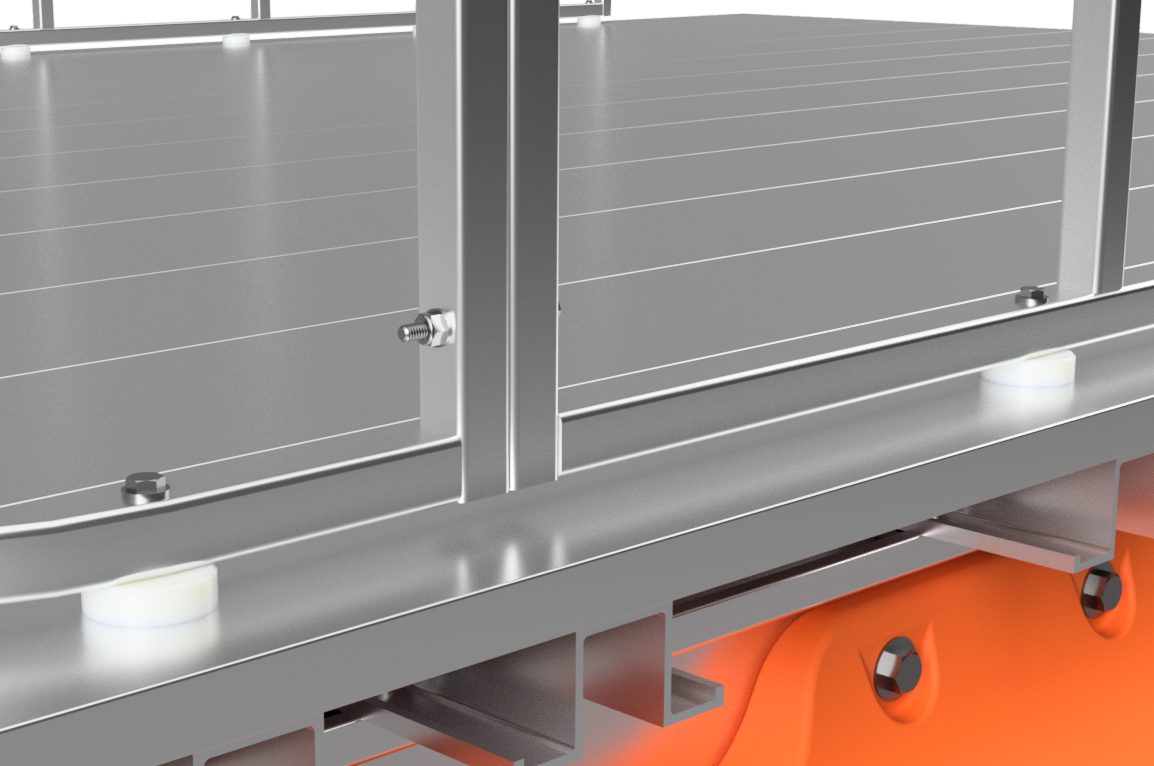
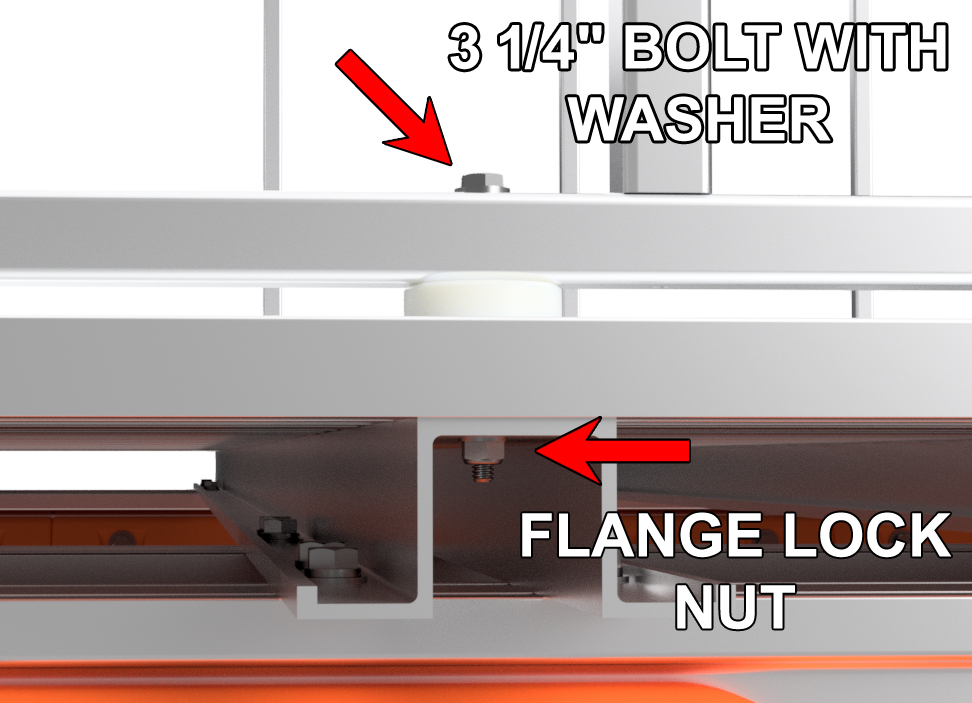
Pull the entire fence upward and remove all the bolts you just inserted through the newly drilled holes. You may have to remove each individual bolt to pull the fence upward. Brush away any chips and place one plastic spacer under each fence mounting hole. Align the holes in the spacers with the holes in the fence and adjust the position of the fence assembly to line up all the bolt holes you just drilled in the boat frame. Insert a 1/4" x 3 1/4" stainless hex bolt, with a washer, through each hole you just drilled. You may have to tap the bolt into position with a rubber or plastic hammer. A little tap won't hurt anything, but if it fights you, use your drill to put a 1/4" drill bit through the hole again. When there is resistance, it typically means that there are chips blocking the hole, and your drill will clear those out easily.


STEP 5

Install a flange nut on each bolt from the underside of the platform. We find it easiest to use a box wrench to hold the nut and tighten the bolt from above. If you have our soft panels installed on your fence, this is a 2-person operation. With all of your nuts and bolts tightened, the job is completed. Nice work!